The World
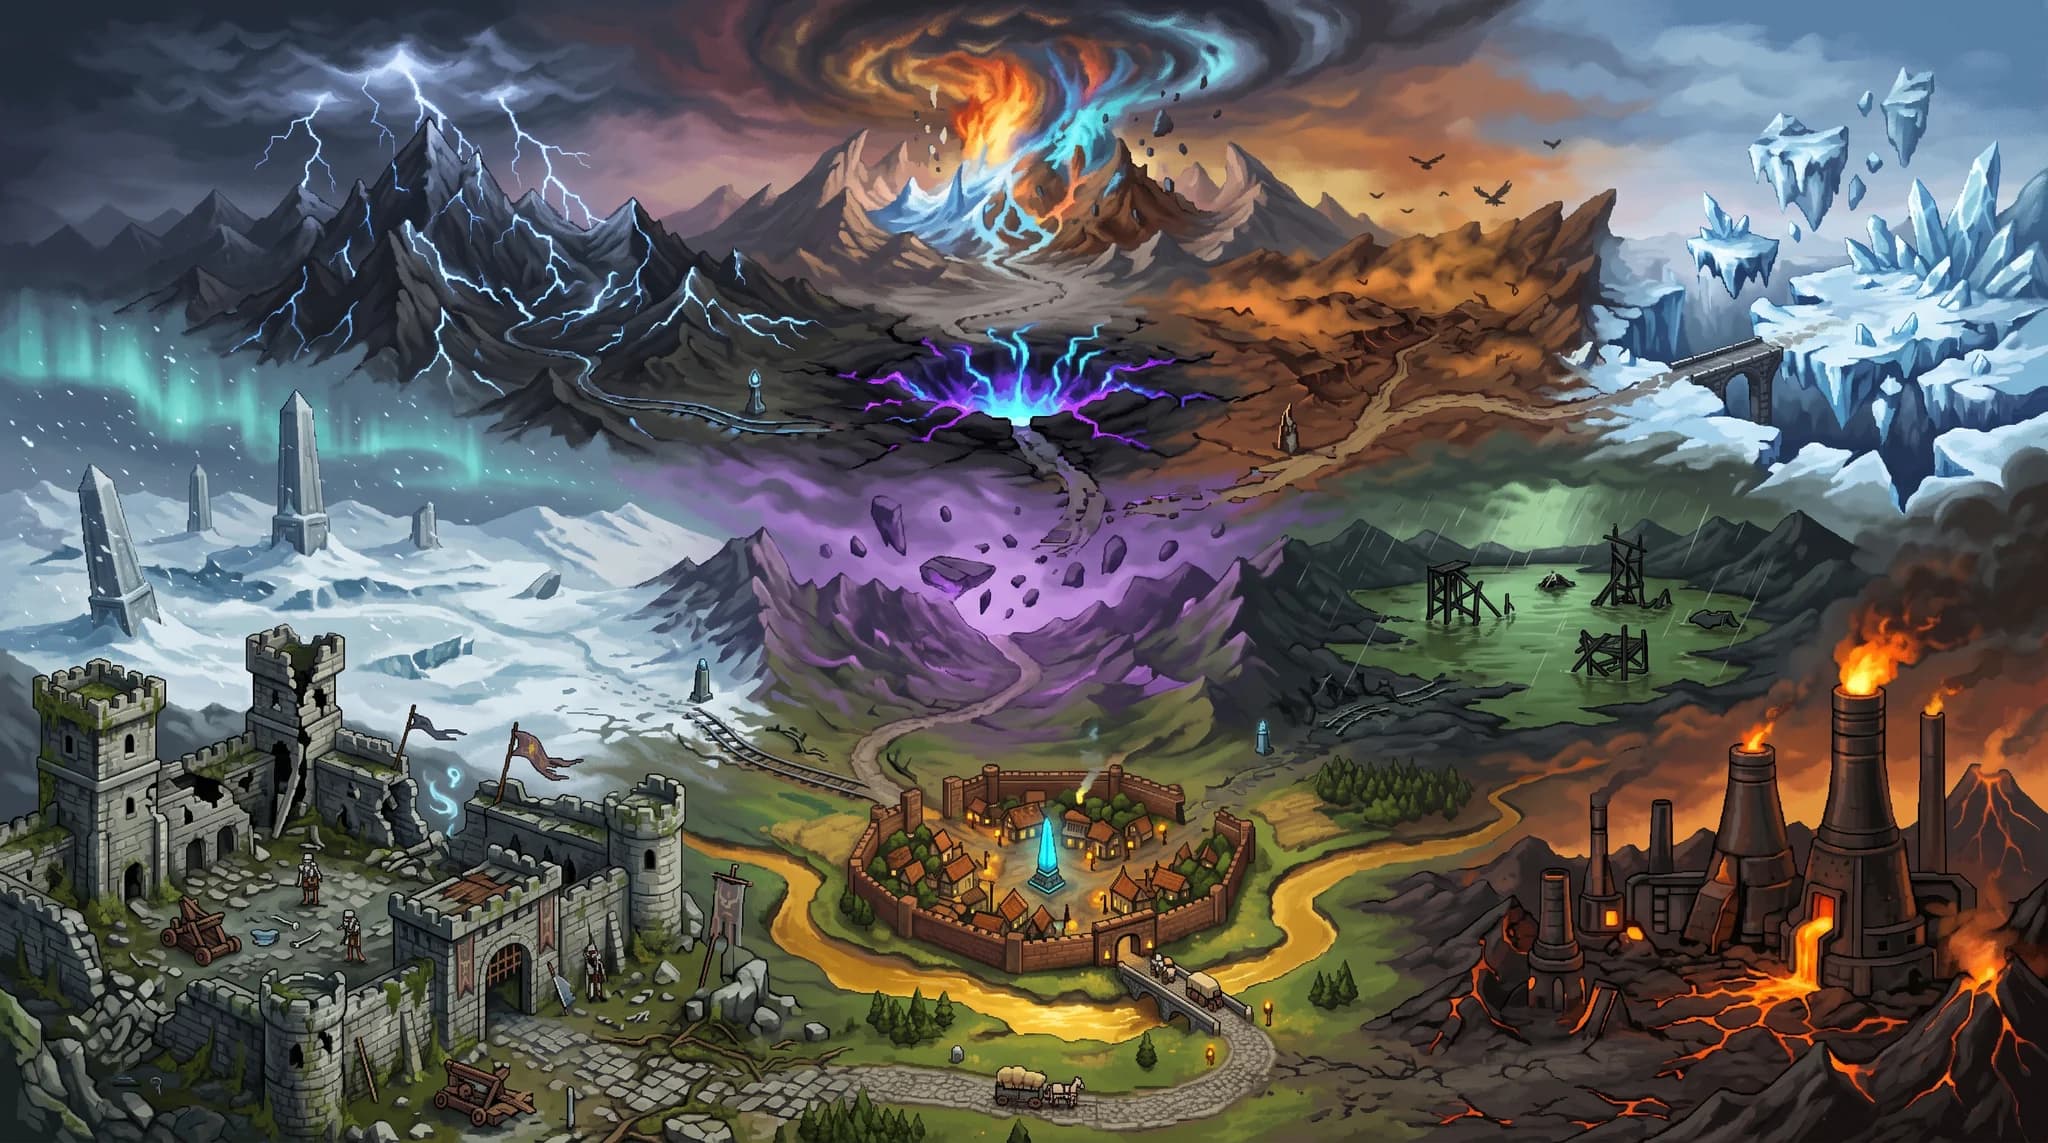
There is one town and 10 zones to fight in, each one holding 10 named places. The town is safe. Everywhere else, another player can come for you.
The route through a zone
A zone is not one map. It is 10 places, each with a name and a painting of its own, laid out as a route that runs from the edge of the zone to its heart. The rail under the picture in town is that route: 10 stops, walked in order.
One stop is open ahead of you at a time. Everything past it wears a padlock and cannot be picked. Tap a padlock and the card tells you which place to clear first.
A place opens when you conquer the one before it: reach tier 20there, which means killing that tier’s boss. Nothing else opens it, and nothing in the world is held behind your level.
Once conquered, a place stays open for good. Walking back to an early one is how a conquest star climbs its grades, and the route never closes behind you.
Each stop is labelled D1 to D10. That number is the difficulty, and it is what the fighting scales against. The early places are quicker and pay more kills, more items and more gold in an hour. The deep ones pay better gear and more experience per kill.
Opening the next zone
The last place of a zone is also the door out of it. Conquer it, meaning tier 20 at difficulty 10, and the next zone opens at its own first place. That is the only requirement. There is no level you need to be.
Conquest stars
The first time you clear tier 20 at a place, that place keeps a gold star forever. It sits on the stop, on the route, where you left it. There are 100 of them, 10 in every zone, and collecting them is a record of how much of the world you have taken back.
A first clear also hands you a sealed cache: one item, held for you until you choose to open it. It is attuned to the place that earned it, so what comes out is decided by where you were standing, not by what you are wearing when you open it.
A star is not finished at tier 20. Go back to a starred place and push deeper, and the star climbs through 4 further grades. Each one pays another sealed cache, so a single place pays 5 across its life.
| Grade | Reached at |
|---|---|
| Gilded | Tier 40 |
| Blazing | Tier 60 |
| Radiant | Tier 80 |
| Eternal | Tier 100 |
The thresholds are the same at every place. The fighting behind them is not. Tier 100 in the first zone is a very different proposition from the same tier in the tenth.
What changes from zone to zone
Each zone leans on an element, such as fire or ice, and its monsters send more of their damage that way. The elements themselves are flavour. There is no separate fire resistance to build, only one elemental resistance that covers all of them, so a new zone never leaves you exposed to something specific.
What does change is the mix. Some zones come at you mostly with steel, which is what armour is for. Others come at you mostly with magic, which is what resistance is for. Each zone drops the defence it presses on, so the gear you find there is the gear you need there. Each one also raises the ceiling on Item Power, which starts the hunt over again.


